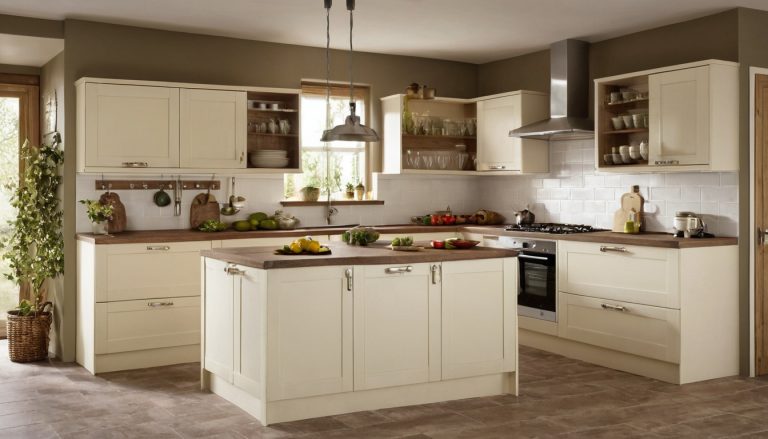
Use IKEA Kitchen Planning to Price Fillers, Panels, and Installation Before You Order
The cabinet boxes have arrived, but the fitter has no usable wall filler and no finished panel for the exposed dishwasher end. Does the job stop for replacement material, or does the homeowner accept a visible carcass edge and an extra installation bill? A dependable IKEA planning kitchen estimate answers that question before checkout by reconciling three documents: the planner export, a field-finish schedule, and a written installation scope.
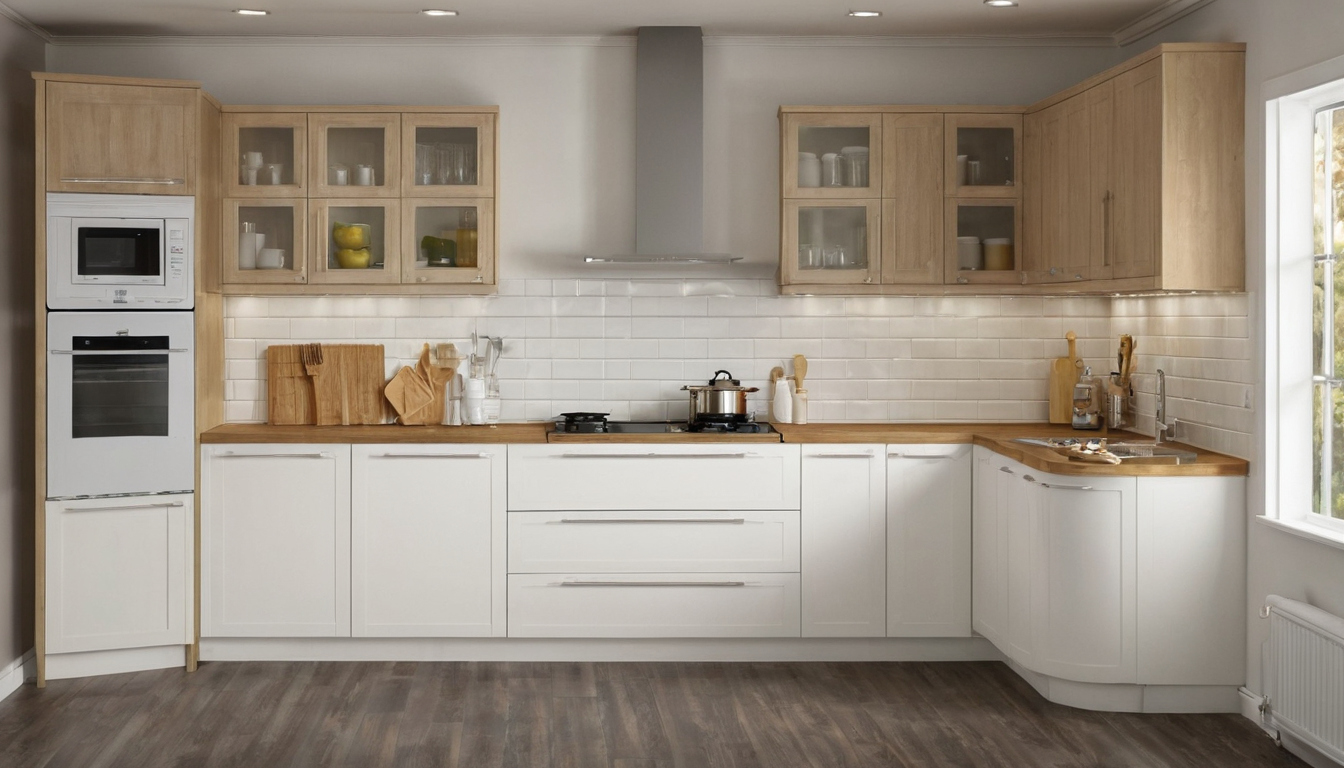
Use IKEA Kitchen Planning to Price Fillers, Panels, and Installation Before You Order shown as an editorial planning reference.
How should a 10-by-10 IKEA planning kitchen be defined before it is priced?
An IKEA planning kitchen becomes a usable estimate only after one fixed U.S. layout is measured and priced from a dated parts list. “10-by-10” describes a comparison footprint, not a standard IKEA package, so the room, cabinet schedule, finish, appliances, ZIP code, and exclusions must stay fixed.
The worked estimate needs one fixed room, finish, and appliance schedule
Start by locking the following hypothetical survey and specification. Changing the front family, appliance model, wall dimensions, or delivery location later makes the original comparison unreliable.
- Room: L-shaped inside walls measuring 120 by 120 inches, a 96-inch ceiling, and a nominal 90-degree corner. Record the doorway, window, plumbing, receptacles, vent position, floor variation, and wall deviation at base, counter, and wall-cabinet heights.
- Cabinetry: SEKTION base and wall frames with one stated front family and finish, fixed frame heights and depths, and one handle or knob selection.
- Appliances: Fix the sink, dishwasher, 30-inch range, hood, and refrigerator positions. Record every model number and manufacturer cut-sheet dimension.
- Price record: Save the capture date, delivery ZIP code, planner drawings, elevations, article numbers, quantities, displayed prices, discounts, and stock notes.
- Scope boundary: State whether the estimate includes appliances, countertops, delivery, assembly, installation, tax, demolition, trades, flooring, lighting, and wall repair.
The planner subtotal and the finished-kitchen total answer different questions
The planner subtotal records selected merchandise. The finished total must separately identify delivery, tax, assembly, installation, countertops, appliances, sink, faucet, demolition, plumbing, electrical work, flooring, lighting, wall repair, and disposal as included or excluded.
Site readiness also belongs in the brief. The U.S. Environmental Protection Agency guide to moisture and mold advises fixing wet or damp areas promptly to help prevent mold growth. Cabinets should not be installed against an unresolved leak or damp wall.
If lighting forms part of the renovation scope, ENERGY STAR states that qualified LED lighting uses at least 75 percent less energy and lasts up to 25 times longer than incandescent lighting. Record lighting as a separate electrical and product cost rather than hiding it in the cabinet allowance.
Once that brief is locked, the next question is harder: the IKEA kitchen planner parts list is not a complete installation scope.
The IKEA kitchen planner parts list is not a complete installation scope
The IKEA kitchen planner parts list is an ordering draft, not proof that a fitter can close every visible gap. For a U.S. SEKTION project, separately verify exposed cover panels, wall and appliance fillers, toe kicks, rails, end treatments, countertop support, trim cuts, fasteners, and spare finish material.
Which finish pieces must be checked outside the cabinet count?
Print every elevation and mark each visible cabinet side, wall termination, appliance opening, island back, cabinet bottom, and toe-kick return. Then compare those marks line by line with the exported list.
- Exposed cabinet sides: Schedule a finish-matched panel wherever a carcass side remains visible. Record the IKEA product name, article number, package dimensions, quantity, captured price, and intended cuts.
- Dishwasher and refrigerator sides: Add a finished panel or job-built return where the appliance does not sit between two finished cabinet sides. Refrigerator returns must also respect the selected appliance instructions and door movement.
- Wall gaps: Identify filler material at every run ending against a wall. Do not assume a narrow planner gap provides enough stock to scribe a bowed or out-of-plumb surface.
- Toe kicks: Measure straight runs, exposed ends, corner joints, appliance interruptions, ventilation openings, and returns. Allow for unusable offcuts rather than dividing total footage only by package length.
- Panel cutting yield: Draw every proposed cut on the selected panel size before ordering. A tall refrigerator return, base end, and several fillers may not nest efficiently on one panel.
Matching fillers may be cut from cover-panel or other finish-matched stock, depending on the selected IKEA front range. Job-built plywood or timber can provide concealed packing and structural support, but visible material needs an agreed finished face and edge. Write down which material supplies each filler instead of leaving the fitter to improvise from an expensive end panel.
Suspension rails, legs, fasteners, and countertop supports require separate verification
Cabinet frames and doors can all be present while the fitting kit remains incomplete. Check the exported quantity of SEKTION suspension rail against each measured base and wall run, including cuts and sections that cannot bridge obstacles.
- Confirm rails, cabinet legs, cabinet connectors, toe-kick clips, hinges, shelves, and required installation hardware by product name and quantity.
- Specify wall fasteners only after identifying studs, masonry, blocking, or another substrate. Site-dependent anchors should appear in the installer’s scope even when they are not IKEA order items.
- Ask the countertop fabricator to identify support required beside dishwashers, beneath seams, across unsupported openings, and under overhangs. Put brackets, cleats, or panels into the finish schedule.
- Keep spare matching stock for damaged edges and unavoidable field cuts, with the allowance labeled for this project rather than treated as a universal quantity.
The audit identifies where filler material belongs, but the survey determines how wide each piece must start. Filler-strip widths must be based on field conditions and operating clearances.
Filler-strip widths must be based on field conditions and operating clearances
Filler widths should come from field measurements and operating clearances, not from stretching cabinet icons between two walls. The worked 10-by-10 kitchen must reserve material for scribing, allow doors and drawers to operate, and preserve every appliance manufacturer’s required opening, ventilation, swing, and service clearances.
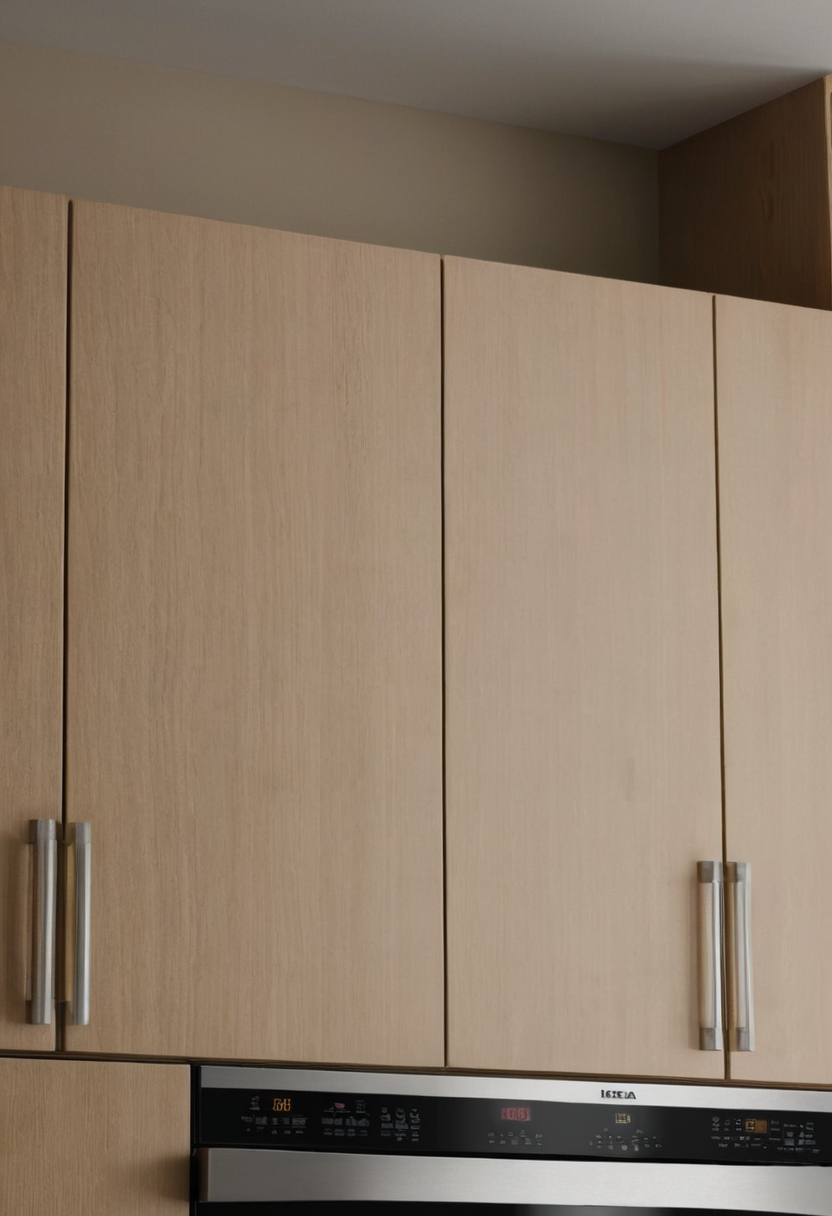
Filler-strip widths must be based on field conditions and operating clearances shown as an editorial planning reference.
Wall fillers must leave enough stock to scribe the actual wall
A hypothetical laser survey of the 120-inch wall records 120 inches at floor level, 119 3/8 inches at countertop height, 119 5/8 inches at wall-cabinet height, and 119 1/2 inches near the ceiling. The tightest reading is therefore 5/8 inch inside the planner’s perfectly square room.
- Check the tightest point: The transparent dimension chain is 2 1/2 inches of planned left filler stock, 30 inches of cabinet, a 24-inch appliance opening, a 5/8-inch finished panel, 60 inches of cabinets, and 2 7/8 inches of remaining adjustment space. Together, those dimensions equal 120 inches.
- Protect the scribe allowance: The 2 1/2-inch filler includes the hypothetical 5/8-inch wall deviation. Its visible width can finish near 1 7/8 inches at the tight point rather than the width shown in the planner.
- Preserve the finished edge: The fitter marks the wall profile, cuts the wall-facing edge, test-fits the strip, and keeps the factory-finished edge beside the door. This method assumes matching panel stock with a finished face and usable factory edge.
Wider starting stock may be needed where the wall bows severely, window or door casing projects into the run, or a handle beside a return wall needs more room. Any spare-panel allowance is a project allowance for cutting errors and site variation, not an IKEA requirement or a universal percentage.
Appliance fillers and panels must follow the selected model’s installation instructions
Appliance openings cannot be priced from a generic 24-, 30-, or 36-inch planner icon alone. Record the required finished opening, side and rear spacing, top clearance, ventilation path, anti-tip provisions, door projection, and service access from each selected model’s installation manual.
In the worked layout, the refrigerator sits beside a wall, so its door must open far enough for shelves and drawers to clear. The selected GE refrigerator product information must be checked for model-specific dimensions and door-swing guidance before fixing the adjacent panel. Do not transfer dimensions from that refrigerator to a different model.
The range opening must retain the selected manufacturer’s clearances, while the hood centerline must remain aligned with the range. Check handle projection as well as body width. A range can fit the nominal opening while its handle or oven door still conflicts with a nearby drawer, corner handle, or projecting panel.
The dishwasher terminates the base run in this example. Its finished end panel must support the countertop as required by the countertop fabricator; the appliance itself should not be treated as countertop support. The panel position must also leave room for the dishwasher door, mounting hardware, hoses, electrical connection, and removal for service.
Panel alignment must account for doors, toe kicks, and countertop overhangs
Every exposed end needs a stated alignment choice: box-flush, door-flush, or countertop-finished. For this project, the refrigerator panels finish flush with the door faces, while the dishwasher end panel reaches the floor and receives a toe-kick return.
The fitter must confirm the ordered SEKTION box depth, selected front thickness, panel thickness, handle projection, toe-kick setback, and fabricator-approved countertop overhang before cutting. Those dimensions affect whether the panel stops at the carcass, aligns with the door face, or continues to another finished line.
In the worked layout, a wall-cabinet door would strike adjacent casing without its filler, and a base drawer handle would clip the return wall before full extension. Those conflicts turn finish stock into measurable cost, which is why a complete IKEA kitchen estimate must next separate products, services, trades, and contingency.
A complete IKEA kitchen estimate separates products, services, trades, and contingency
A complete IKEA kitchen price separates merchandise, finish pieces, delivery, assembly, installation, countertops, trade work, tax, and contingency so the homeowner can see which amounts are fixed and which can move. Use current IKEA U.S. pricing for one recorded ZIP code, then place every labor amount under a dated written scope.
What does the planner-generated merchandise subtotal include?
The planner subtotal is the starting figure, not the installed price. Save the dated IKEA planner export with each article number, description, quantity, unit price, discount, stock status, and extended price. Record the selected ZIP code and note whether sales tax appears in the displayed subtotal or is calculated later at checkout.
The merchandise audit should group cabinet frames separately from fronts and fittings. Frames, drawers, shelves, hinges, legs, rails, handles, panels, and toe kicks need their own quantity checks. Appliances and countertops must also be identified separately if the planner includes them but the cabinet comparison does not.
Use the export total only after matching every line against the elevations. A panel shown graphically may be missing, incorrectly sized, or counted where usable filler stock is actually required. Do not insert a guessed retail price for a missing piece. Add the correct current retail amount from the final cart and capture the date.
What must be added to reach a finished-installation total?
Build the finished-cost ledger in the following order, retaining the source, date, and pricing category beside every amount:
- Core cabinetry: Enter current retail prices for frames and cabinet interiors from the reconciled planner export.
- Fronts and fittings: Enter current retail prices for doors, drawer fronts, hinges, drawers, shelves, handles, and internal accessories.
- Finish pieces: Enter current retail prices for cover panels, toe kicks, rails, legs, and extra matching stock required for fillers or scribed returns.
- Planner omissions: Add project allowances for consumables, countertop support, wall repair, spare panel material, disposal, parking, and restricted access. State how each allowance was calculated.
- Delivery and assembly: Enter the checkout delivery charge for the recorded ZIP code and a separate dated assembly quote.
- Installation: Enter the installer quote for rail fixing, cabinet setting, leveling, joining, filler scribing, panel fitting, toe-kick work, hardware fitting, cleanup, and return visits.
- Countertops and trades: Enter written quotes for templating, fabrication, countertop installation, plumbing, electrical work, and required ventilation work.
- Tax and contingency: Enter checkout tax where no reliable local calculation is available, followed by a clearly labeled project contingency rather than a disguised labor allowance.
Label each line as a current retail amount, checkout quote, installer quote, published range, or project allowance. Low, expected, and high totals are useful only when each scenario traces back to disclosed prices, written quotes, or project-specific assumptions. The next check is whether the assembly and installation quotes actually define the work performed on site.
Assembly and installation quotes must define the work performed on site
Assembly and installation are different scopes, and a low cabinet-count quote can omit the work that makes an IKEA kitchen look finished. For this U.S. 10-by-10 example, define who assembles boxes, hangs rails, levels runs, scribes fillers, fits panels and toe kicks, makes field cuts, and returns for punch-list work.
A cabinet installation quote should itemize finish carpentry and return visits
Compare written bids by completed task, not cabinet count alone. IKEA describes its kitchen installation service online, but service availability and the work offered can vary by location. Confirm the project address, provider, price basis, and exclusions in writing.
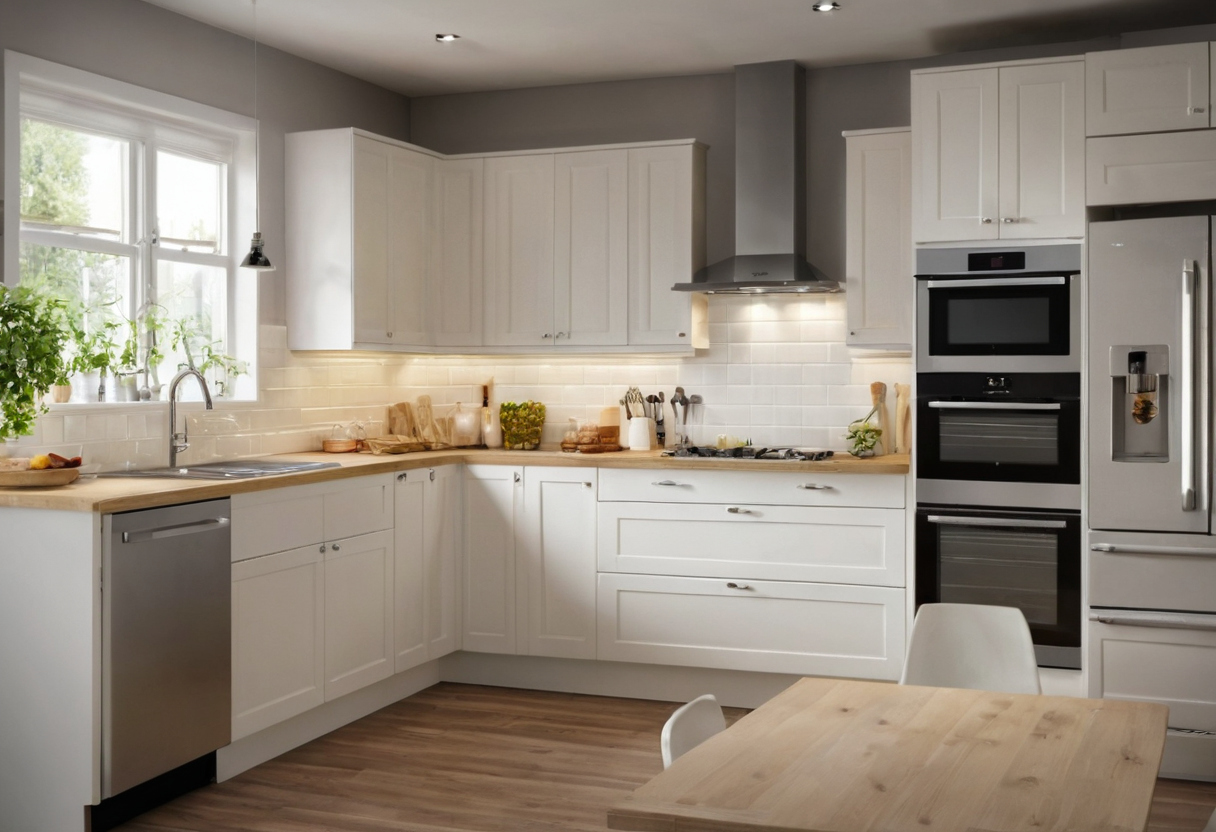
Assembly and installation quotes must define the work performed on site shown with practical context cues.
| Scope item | What the quote must state |
|---|---|
| Assembly and hanging | Box assembly, rail fitting, fastening, leveling, and cabinet connections |
| Finish carpentry | Filler scribing, panel ripping, toe-kick returns, appliance panels, cutouts, and handle drilling |
| Completion | Cleanup, hardware adjustment, punch-list limits, return visits, and workmanship warranty |
| Commercial terms | Payment stages, hourly or project pricing, and written change-order approval |
A credible installer quote should also assign unloading and inventory checking. Missing parts, damaged fronts, bowed walls, revised appliance specifications, and field modifications should have stated change-order or remobilization terms.
Trade work and site readiness sit outside many cabinet-fitting scopes
Cabinet fitting commonly excludes demolition, haul-away, drywall repair, painting, countertop templating, plumbing, gas, electrical work, permits, hood ducting, and appliance connection unless specifically listed. Check licensing and permit requirements with the relevant local jurisdiction before work begins.
The site-readiness check should confirm repaired walls, usable floors, marked appliance positions, completed rough services, clear access, and an agreed staging area. Homeowners should also settle pendant locations and wiring before cabinet installation. The IKEA kitchen order should now pass a drawing, parts, and installation audit before checkout.
The IKEA kitchen order should pass a drawing, parts, and installation audit before checkout
Do not place the IKEA kitchen order until the planner file, room survey, appliance specifications, finish-piece count, countertop requirements, and installer scope agree. The final audit should also identify stock substitutions, damaged-product procedures, access limits, modified parts that may not be returnable, and work likely to trigger another site visit.
The final order audit must reconcile every elevation with the parts list
Print the following checklist and mark the revision date on every document:
- Match each cabinet on every elevation to the cabinet schedule, planner export, appliance schedule, and finish-piece map.
- Assign every exposed end, wall gap, dishwasher return, refrigerator panel, toe-kick return, and unsupported countertop edge both a product and an installer task.
- Count suspension rails, legs, toe kicks, panels, hinges, drawers, shelves, handles, connectors, fasteners, and other installation accessories. Check for duplicate frames and mismatched fronts.
- Record approval by the homeowner for layout and finish, the planner for order content, the countertop fabricator for support and overhang details, and the installer for site fit and scope.
Stop the order if any room dimension, appliance model, countertop support detail, finish treatment, or installer exclusion remains unresolved.
Delivery damage and field adjustments need time and money allowances
Before checkout, save IKEA’s current terms for returns, exchanges, order changes, missing or damaged products, stock availability, and applicable guarantees and warranties. Confirm reporting deadlines directly in the order documents. Cut, drilled, or otherwise modified products may be handled differently, so inspect panels and fronts before assembly or cutting.
Check truck access, parking, stairs, elevator booking, dry storage, package protection, and clear floor space for assembly. On delivery day, compare every package label and article number with the order before opening cartons.
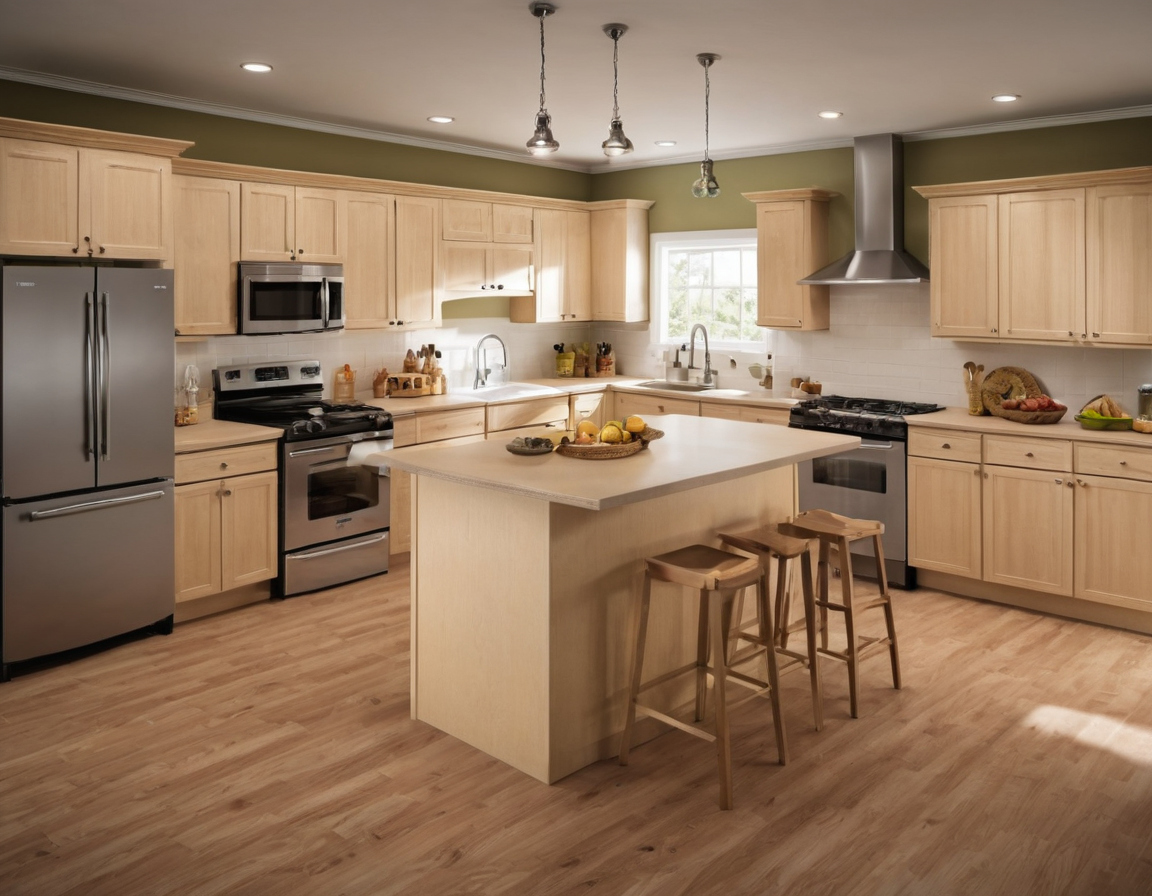
The IKEA kitchen order should pass a drawing, parts, and installation audit before checkout shown as an editorial planning reference.
| Risk | Control |
|---|---|
| Ordering error | Reconcile drawings, quantities, finishes, and appliance models. |
| Site-condition change | Price scribing, wall correction, and support work separately. |
| Missing or damaged product | Photograph labels and damage, then allow replacement time. |
| Installer change order | Agree rates for extra fitting and remobilization in writing. |
Allow project-specific spare finish material and ventilation during cutting, adhesive use, or touch-up work. The U.S. Environmental Protection Agency identifies paints, varnishes, waxes, cleaning products, building materials, and furnishings as common indoor sources of volatile organic compounds. The agency recommends increasing ventilation while using products that emit VOCs indoors.
Order only when the planner export, field-finish schedule, and written labor scope describe the same kitchen the fitter is expected to finish.